
Make Portable Structures Using Simple Hardware
/
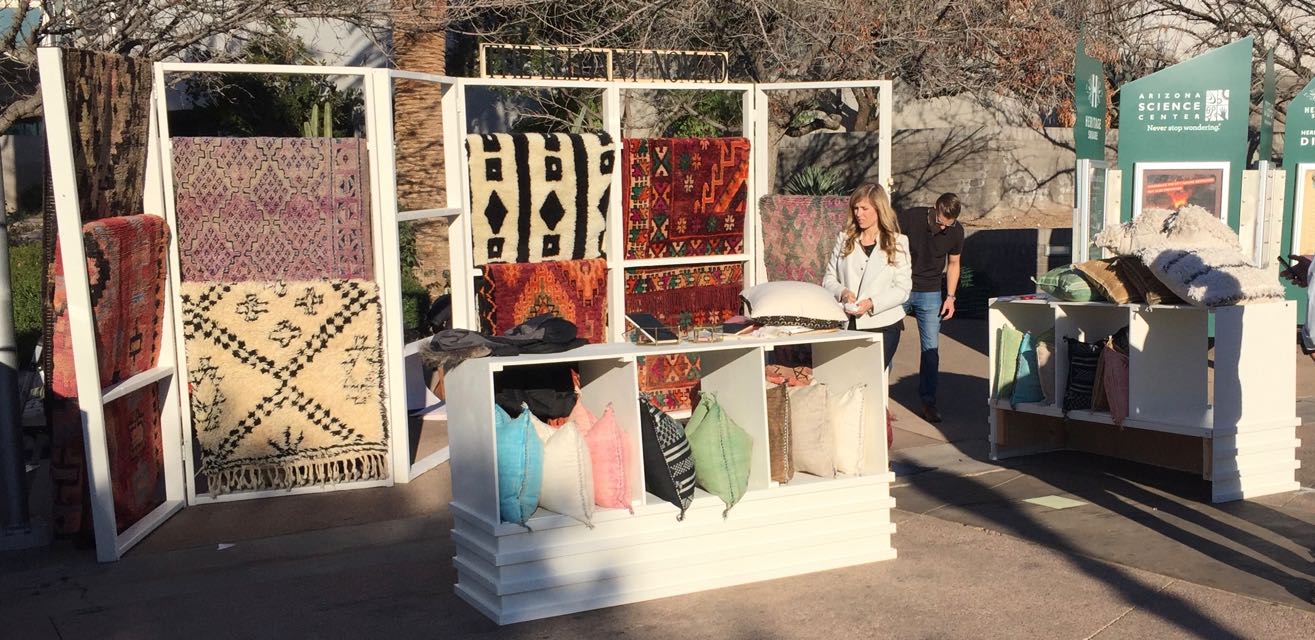


Phoenix Flea
My daughter and her husband have an import business selling beautiful rugs and pillows from Morocco and other countries. They wanted to show their products at a recent weekend market in Phoenix so they needed structures to display them. My daughter sent me a Sketchup design that threw down the challenge: build an interconnected set of frames 8’ high on which to hang about 15 heavy rugs and make two display cases that would hold about 12 pillows and other items. It had to look good, be portable, be inexpensive, be buildable on my outside patio (I’ve just moved and don’t have a workshop yet) and be ready in 3 weeks.
A couple of hardware choices and a lot of thought about design made for a successful project.
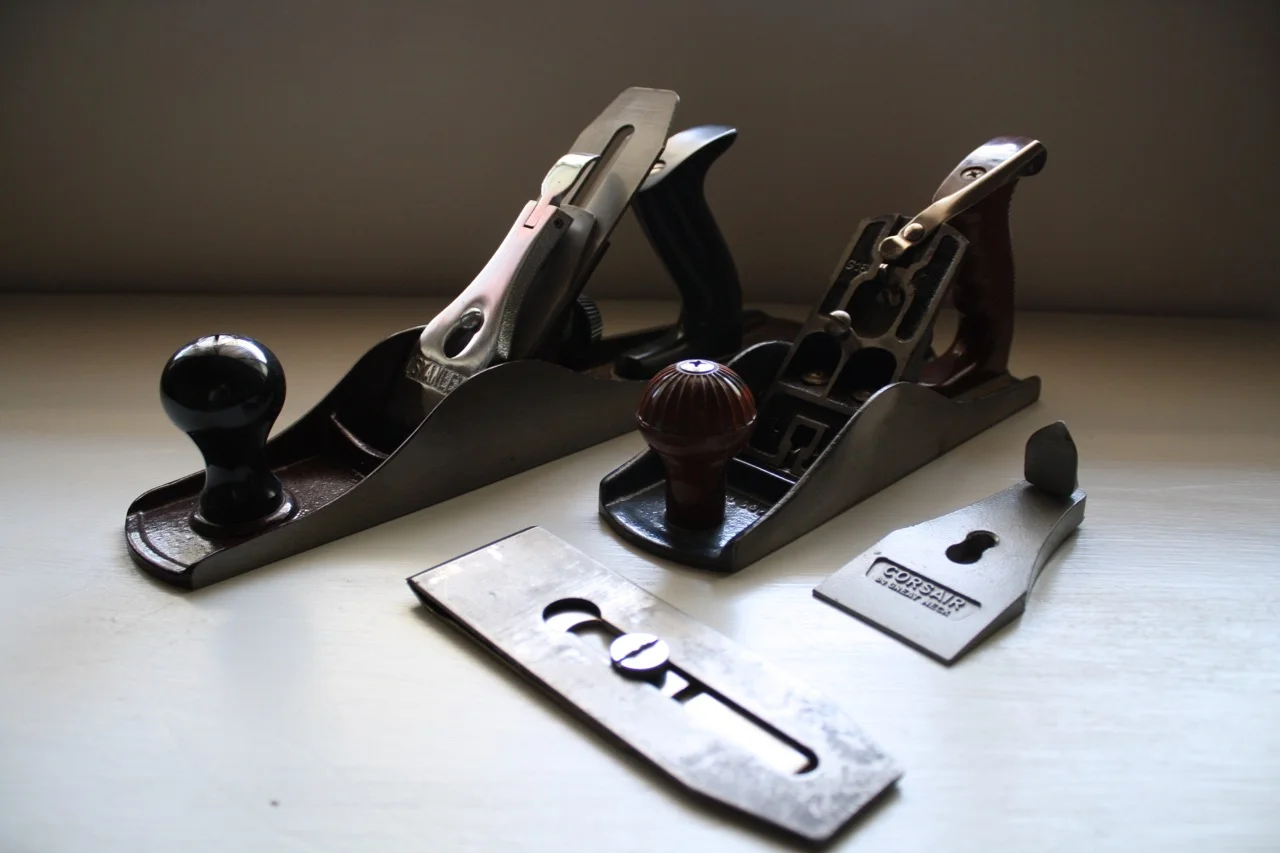
Removable-pin Hinges
The rug display frame was made of 6 panels connected by hinges with removable pins. The hinges made it possible to position the panels simultaneously for visual appeal and stability. When the hinge pins are removed the frame can be easily disassembled for transport and assembly.
Hinges with removable pins are useful because they can be very strong and yet be taken apart.
There are a number of things to consider when using hinges as structural components:
- The hinge will provide rigidity along the axis of the pin but not perpendicular to its axis; you will need to design your structure so that other components set how far the hinge is open
- Hinges can be ugly, so think about how to hide them or integrate them into the design
- If you have multiple components in your structure (here we had 6 panels in the frame), systematically offset one of the hinges on each component to make it so your structure can only be assembled in the correct way
- Install the hinges right side up, or the pins might fall out at the worst time!

Nut Inserts
Our two display cases were made of 1/2” Baltic Birch plywood in order to get the right look. The front and sides were connected by removable-pin hinges but the plywood sides and shelves were joined using nut inserts, Allen-head connecting bolts, and cleats. The nut inserts made it possible to assemble tight, rigid display cases at the show and then disassemble them later.
Nut inserts work best when threaded into solid wood, so cleats were glued and screwed to the display case top and bottom shelves to receive the inserts. Then Allen-head connecting bolts went through holes in the mating plywood pieces into the inserts. Joints made in this way are useful because they can be disassembled and are unobtrusive.
Use of nut inserts requires consideration of several things:
- The hole for the connecting bolt should be drilled first through both joining pieces for good alignment, then the bolt hole can be used as a pilot for a larger hole to be drilled for the insert
- You should screw in the insert slowly and carefully (probably by hand rather than with a driver) - it needs to go in straight or you won’t get a good connection.
- Nut inserts have limited strength, especially in soft wood, so use them where there will not be significant off-axis stresses
- If you plan to use an Allen head connecting bolt, consider the clearance and whether there’s enough room to use an Allen wrench

Make your own!
Both the rug frames and the display cases were finished on time and contributed to a successful showing at Phoenix Flea. Hopefully these simple hardware ideas will be useful to you when you need to make a structure that can be easily taken apart.